Do you want to leave your hair long, but they are apparently dry and brittle, preventing growth and healthy effect? Relax, because we have the tip for the solution of your problems. O embroidered cut!
This cut, so famous nowadays, was already practical for some time by beauty professionals, but the highlight recently came for being a fast, practical and highly effective method.
When done properly, it results in looser, more hydrated and highly malleable hair, without interfering with the length. You like the subject, don’t you?! So, keep reading this post and know all about embroidered cut.

Embroidered cut: What is it?
First of all, it is important to say that the embroidery cut is not just any treatment, but a cutting technique that provides the reduction of frizzdouble ends and dryness. The method is carried out so that the strands with the highest porosity are trimmed, decreasing roughness and opacity.
Therefore, by reducing this texture, it is also possible to eliminate the frizzas well as, get a better look and soft touch.
Thus, if you have tried all the hydrations you know, you do not want to reduce the length of your hair, but still want to reduce dryness and opacity, the embroidery cut can be the solution for you.
This method is also highly recommended for people who have some kind of pigmentation in the hairs or who are suffering from malnutrition and early loss of hair mass. This is because, it will help to remove the damaged part quickly and thus becomes an ally for the introduction of new treatments that maintain hydration, besides all the vitamins that the hair needs.
With this, if you are looking for a cut that does not alter the length and still leave the threads visibly healthy, invest in the embroidered cut. You will certainly like the result of softness and lightness that the hair will look. Learn more!
How is the embroidered cut made?
At first, it is worth remembering that only professional hairdressers do the embroidered cutting procedure, since if done improperly, the result may be thinning as well as reducing hair mass.
This way, look for a professional service that can contribute to the expected benefits, besides leaving the threads lighter and visually hydrated. However, if you are skilled in this type of method, it can also be done at home, but always with great care.
That way, know the steps before and during the cut:
- Deep cleaning: Usually, before cutting, the hair is washed with exfoliating shampoo or another component that deeply cleanses the whole structure of the hair;
- Hydration: Once clean, the hair should receive a quick but effective hydration that leaves the healthy hair strong and damaged, ready to be removed;
- Clear: After removing the moisture, the strands will become more malleable, at this time it is important to untangle well in order to remove any knot from the hair;
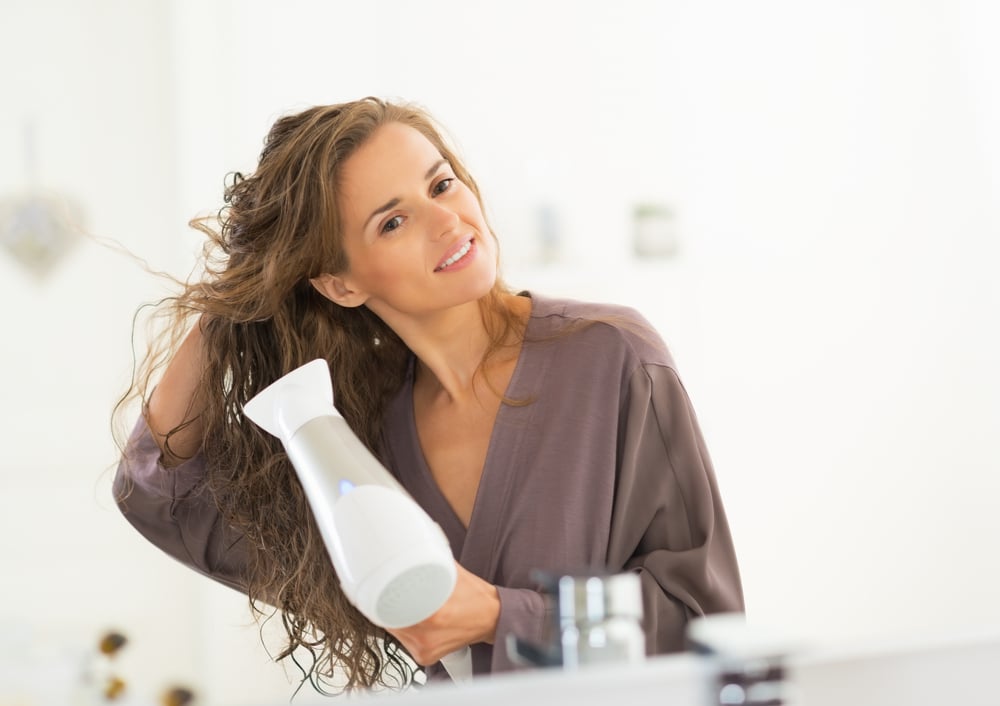
- Dry: Soon after untangling it is necessary to dry the hair to remove the humidity;
- Brush: With your hair slightly dry, start brushing, in order to leave it straight; and
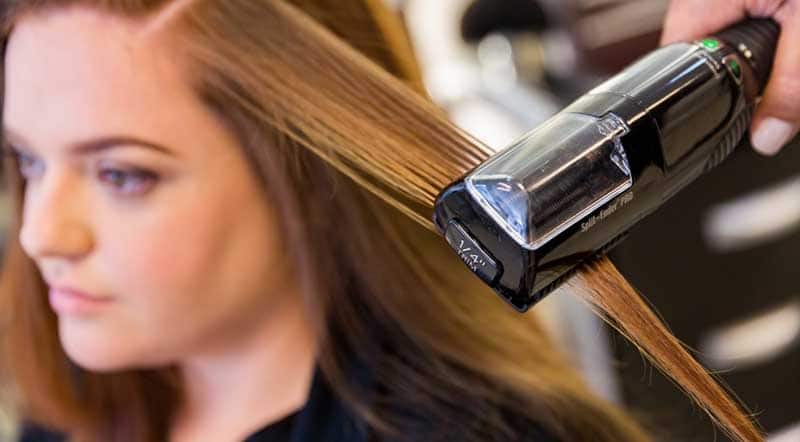
- Cut off the double ends and exposed damage: The cutting procedure can be done either with scissors or by using a machine or brush suitable for the method, as it has blades that trim the tips without damaging or interfering with the length.
So, if you want to know in detail what the embroidery cutting procedure is like, check out the next videos.
Machine embroidered cutting
Now, to know more about the embroidered cut with the brush proper to the technique, see the video of Dr. Natalie, showing in detail, how it was doing the procedure in the beauty parlor, using the machine. Check it out!
Cut embroidered with scissors
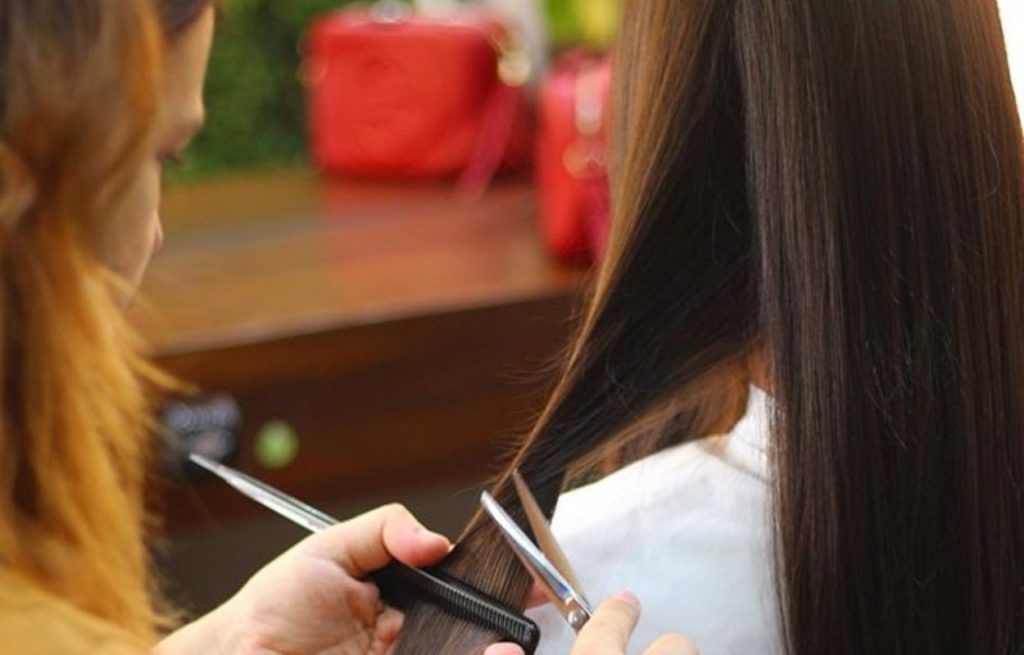
As mentioned earlier, the embroidered cut can also be made with the scissors. And even in this case, it is also recommended that it be done by a professional, given the delicacy that one must have to make the cut, avoiding undesirable results, in addition to damage to locks and parts of the hair.
However, if you have the skills to do it, it is worth the tip that can be done at home, but attention to the care and way of doing the procedure.
To find out how to do it at home, follow the step by step:
- Follow the instructions for cleaning, moisturizing, drying and brushing described at the beginning of the chapter;
- Remember to comb well to remove any embarrassment;
- Separate the hair into small strands;
- Hold the lock between your index finger and middle finger;
- Pull the ends together and use the scissors to trim any threads that come up;
- Repeat the procedure on every lock of hair and that’s it!
This process can take from 40 minutes to 1 hour, depending on the situation, skill and length of your hair. However, the result will be worthwhile, considerably reducing split and brittle ends, as well as contributing to hydration and smoothness.
So, to learn more about how to make the embroidered cut at home, watch Julia Doorman’s video of the Queen’s Hair channel. Check it out!
Can the embroidered cut be done on any hair?
Another very common question is what types of hair the embroidered cut can be made. After all, is this method so famous that it promises immediate solution for all the threads? And the answer is yes, it is suitable for all hairprovided that it is done at appropriate intervals, as we will discuss later.
In addition, this procedure can be done on smooth, wavy, curly or frizzy yarns, according to your wishes and needs. However, on the strands that do not have a smooth texture, brushing is a fundamental step, avoiding that when trimming, threads are removed by half or even wicks. So, pay attention to this phase.
Furthermore, the embroidered cut is highly indicated for people who have some chemical procedure in the threads, from pigmentation to progressive. This is because, from it, it is possible to remove the part with greater exposure to damage and then start with a reconstitution treatment of the mass.
In dyed threads, with lights or wicks, the embroidered cut helps to remove the dry and brittle effect from the length, where there is a greater amount of frizzthus contributing to the brightness, lightness and even leaving the pigmentation more intense. The same is observed in yarns with other types of chemistry such as progressive, smoothing, relaxing and permanent.
Thus, if you are having trouble improving the appearance of your hair with conventional moisturizing and nourishing treatments, the embroidered cut may grant the expected effect, but this does not dispense with other care. With this, attention!

How soon should the embroidered cut be made?
Even with the optimum result of hydration and softness it is important to remember that the embroidered cut should not be done repeatedly in short time.
The general indication of the professionals is that the embroidered cut is done every 4 or 5 monthsdepending on the appearance and complete health of the hair. Even so, in some cases there may be the need to cut every 3 months. Thus, the ideal is to check carefully and ask for professional advice, avoiding reducing the hair mass at the tips.
Thus, intercut the cut with a hair schedule, favoring and stimulating the benefits of the cut. As a result, speaking of positive results, how about knowing more about them? Check them out!
Benefits of embroidery cutting
As said before, the effect of hydration and softness will be almost instantaneous and highly noticeable in the threads, but the benefits are beyond those. With this, check the main ones, so that you no longer have doubts about performing the procedure.
- Remove all the double ends;
- It contributes to volume reduction;
- Ends frizzespecially on the length;
- Reduces the effect of opacity;
- The wires get stronger;
- Helps to enhance color;
- It makes your hair shinier;
- Doesn’t change hair length;
- It decreases porosity;
- It creates a silky-soft, lightweight yarn effect;
- Grants more movement;
- On curly hair, it improves definition; and
- Allows better absorption of vitamins and nutrients.
Finally, this cut becomes a great option to be included among your favorite treatments. But, always remember the care before and after the cut, stimulating the best effect with prolonged result. In this way, learn more about how to proceed after making the embroidered cut.

What to do after the embroidery cut?
After making the embroidered cut it is important to start with a routine of treatments that aim to deeply nourish the threads. This is because the hair cuticle, which is usually the most affected area, will be open and prepared to absorb vitamins and nutrients more effectively.
This ease of absorption will promote healthy growth, with more strength and brightness. So, include treatments and if you like the use of ingredients and homemade recipes, take the opportunity to invest in babosa, coconut oil, liquid Bepantol and even extra virgin olive oil that will contribute to the result.
Want to know more about moisturizing to do after the embroidery cut? Then check out some suggestions!
Care after the embroidery cut
After the embroidered cut, whether it is done with a machine or scissors, it is important to keep the length that has been trimmed, well hydrated so that the thread remains sealed and robust, avoiding returning to the previous appearance. And this may not be very easy, especially for those who use some kind of pigment or chemical in their hair.
If your embroidered cut is made in a salon, probably after the procedure a cauterization or capillary sealing will be performed, which will allow the prolonged healthy effect. However, if you are going to cut at home it is possible to follow an intense hydration or cauterization that will also stimulate the positive results.
With this, see a simple and cheap homemade recipe to apply to all types of hair, right after or up to 7 days after the embroidered cut. Check it out!
Homemade cauterization with Bepantol
The necessary ingredients will be as follows:
- 1 teaspoon of liquid Bepantol;
- the same measure of liquid keratin;
- 1 tablespoonful of combing cream suitable for your hair type; and
- Container to make the mixture.
In addition to these ingredients, you will need a flat iron and dryer to activate the keratin effect. This way, after separating all the items, you can proceed with the recipe.
- Wash your hair if it is dirty with anti-residue shampoo in order to remove any accumulation of creams or conditioners;
- In the container, place the Bepantol, the keratin and the combing cream, mixing until a homogeneous paste is created;
- With the hair still wet, apply the recipe throughout the length and massage, stimulating the best absorption in the hair, especially the tips;
- After applying and massaging well, leave to act for approximately 15 minutes and dry well with a dryer, without removing the products;
- After drying, iron the sheet at least 4 times, strand by strand, until the threads are smooth;
- After doing the procedure all over the hair, let it act for 48 hours and then wash as usual.
By following this recipe, the threads after the embroidered cut will be moisturized, loose and with intense shine, besides being visibly strong and healthy.
For those with curly and curly hair, the hair iron stage is important for the activation of keratin in the hair fiber. Therefore, do not give up the procedure and soon after the recommended period, the curly and curly hair will return with more life and lightness.
Important!
Immediately after making the embroidered cut, avoid the use of products that contain sulfate, petrolatum or silicone in their composition. Since these components, usually present in shampoos and creams for combing, are not indicated because they also cause long-term harm in yarns sensitized by external agents.
With this, for at least the first 7 days after cutting, use cleaning techniques low or on the pooas well as less aggressive ingredients that will promote gradual and adequate nutrition. And as much as this type of treatment is not your preference, try to do it for at least a week, avoiding possible damage from high exposure of the yarn.
In this period soon after the embroidered cut, also avoid contact with swimming pool or sea water, which may more easily penetrate the capillary structure, resulting in dryness and opposite result to the expected.

Finally, what did you think of all this information about the embroidery cut? Leave your comment!


